.png)
Create New Java Project
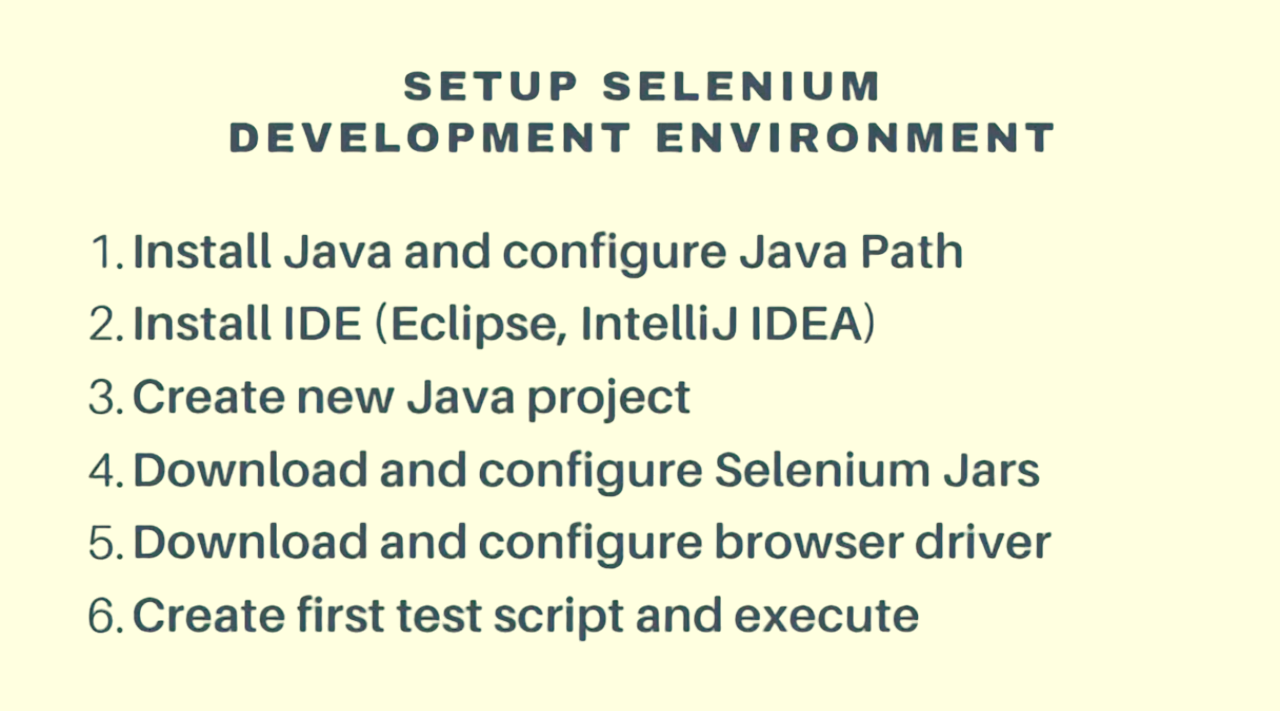
Steps to Create New Java Project
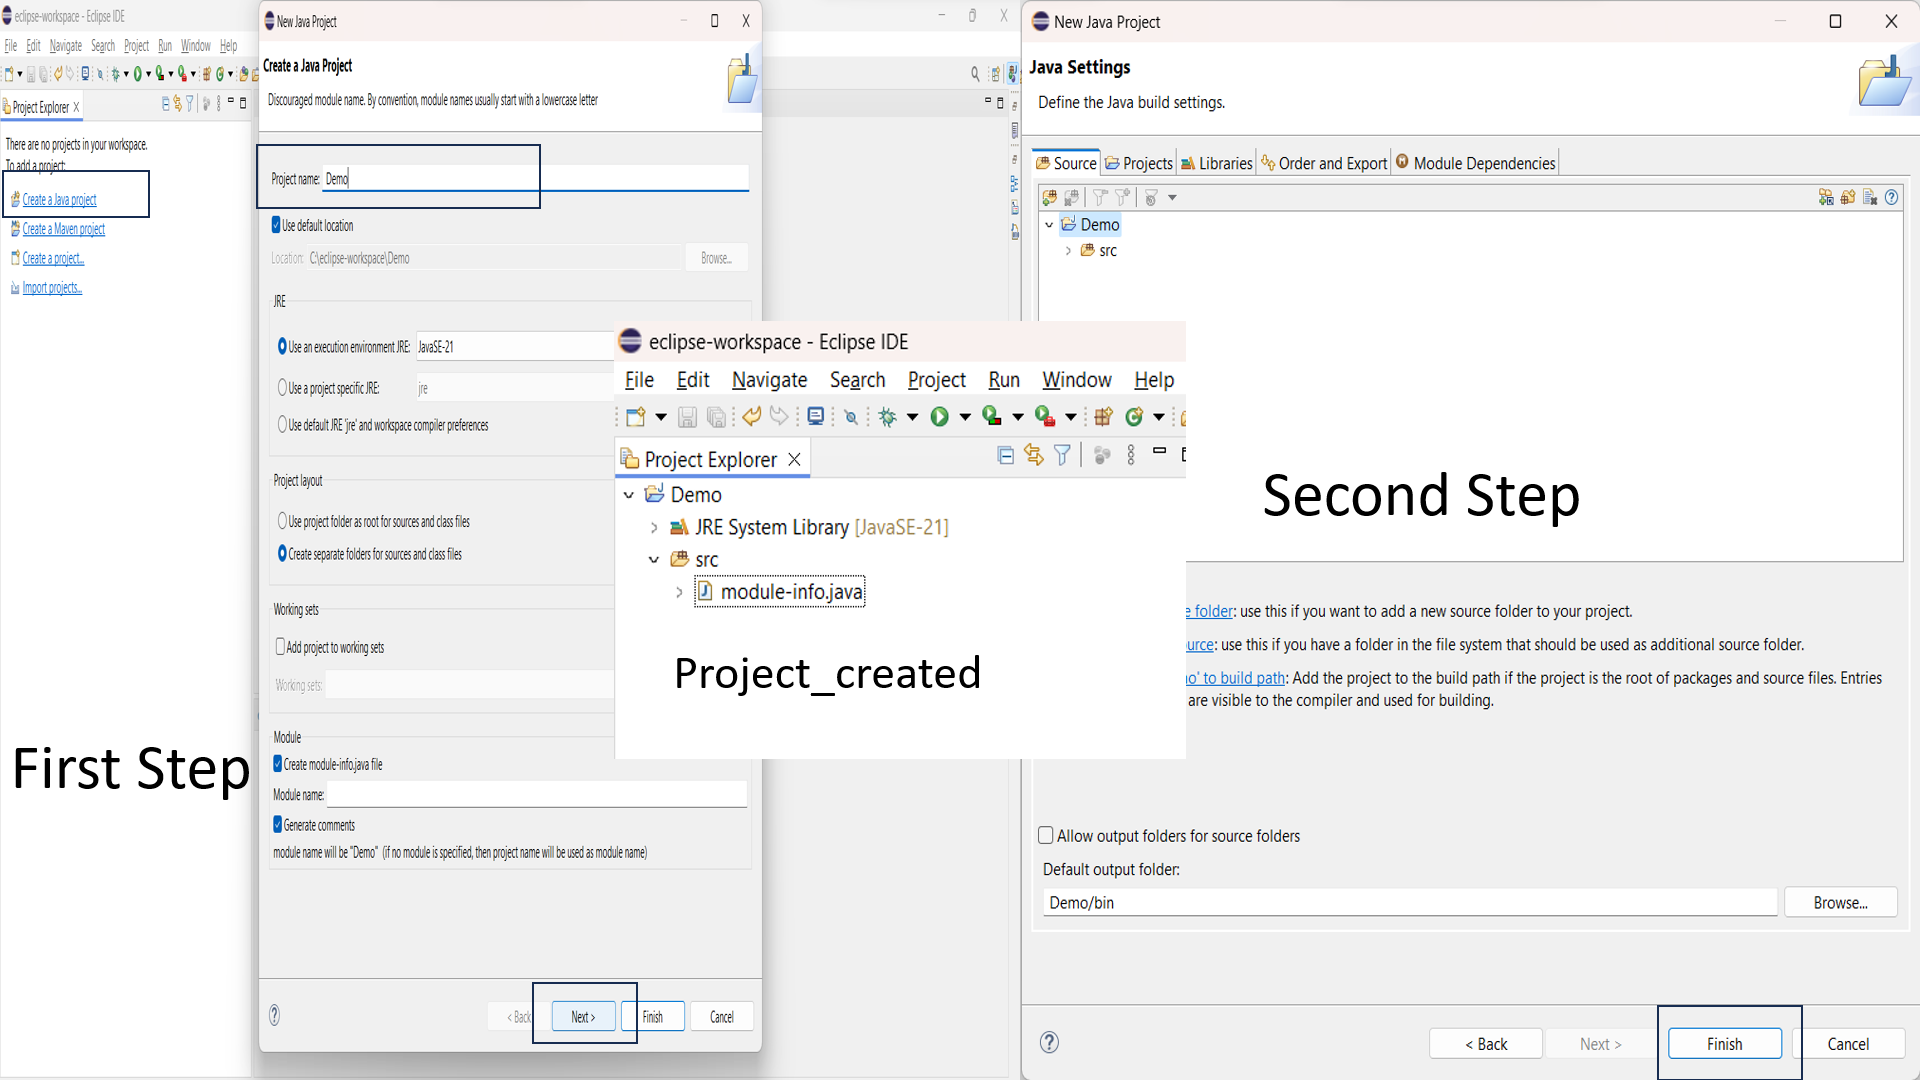
Step 1: Create a New Java Project
- Open Eclipse and navigate to the menu bar.
- Select File > New > Java Project.
- In the "Create a Java Project" window, enter the project name (e.g., "Demo").
- Ensure that the default location is used and that the correct JRE is selected.
- Click Next.
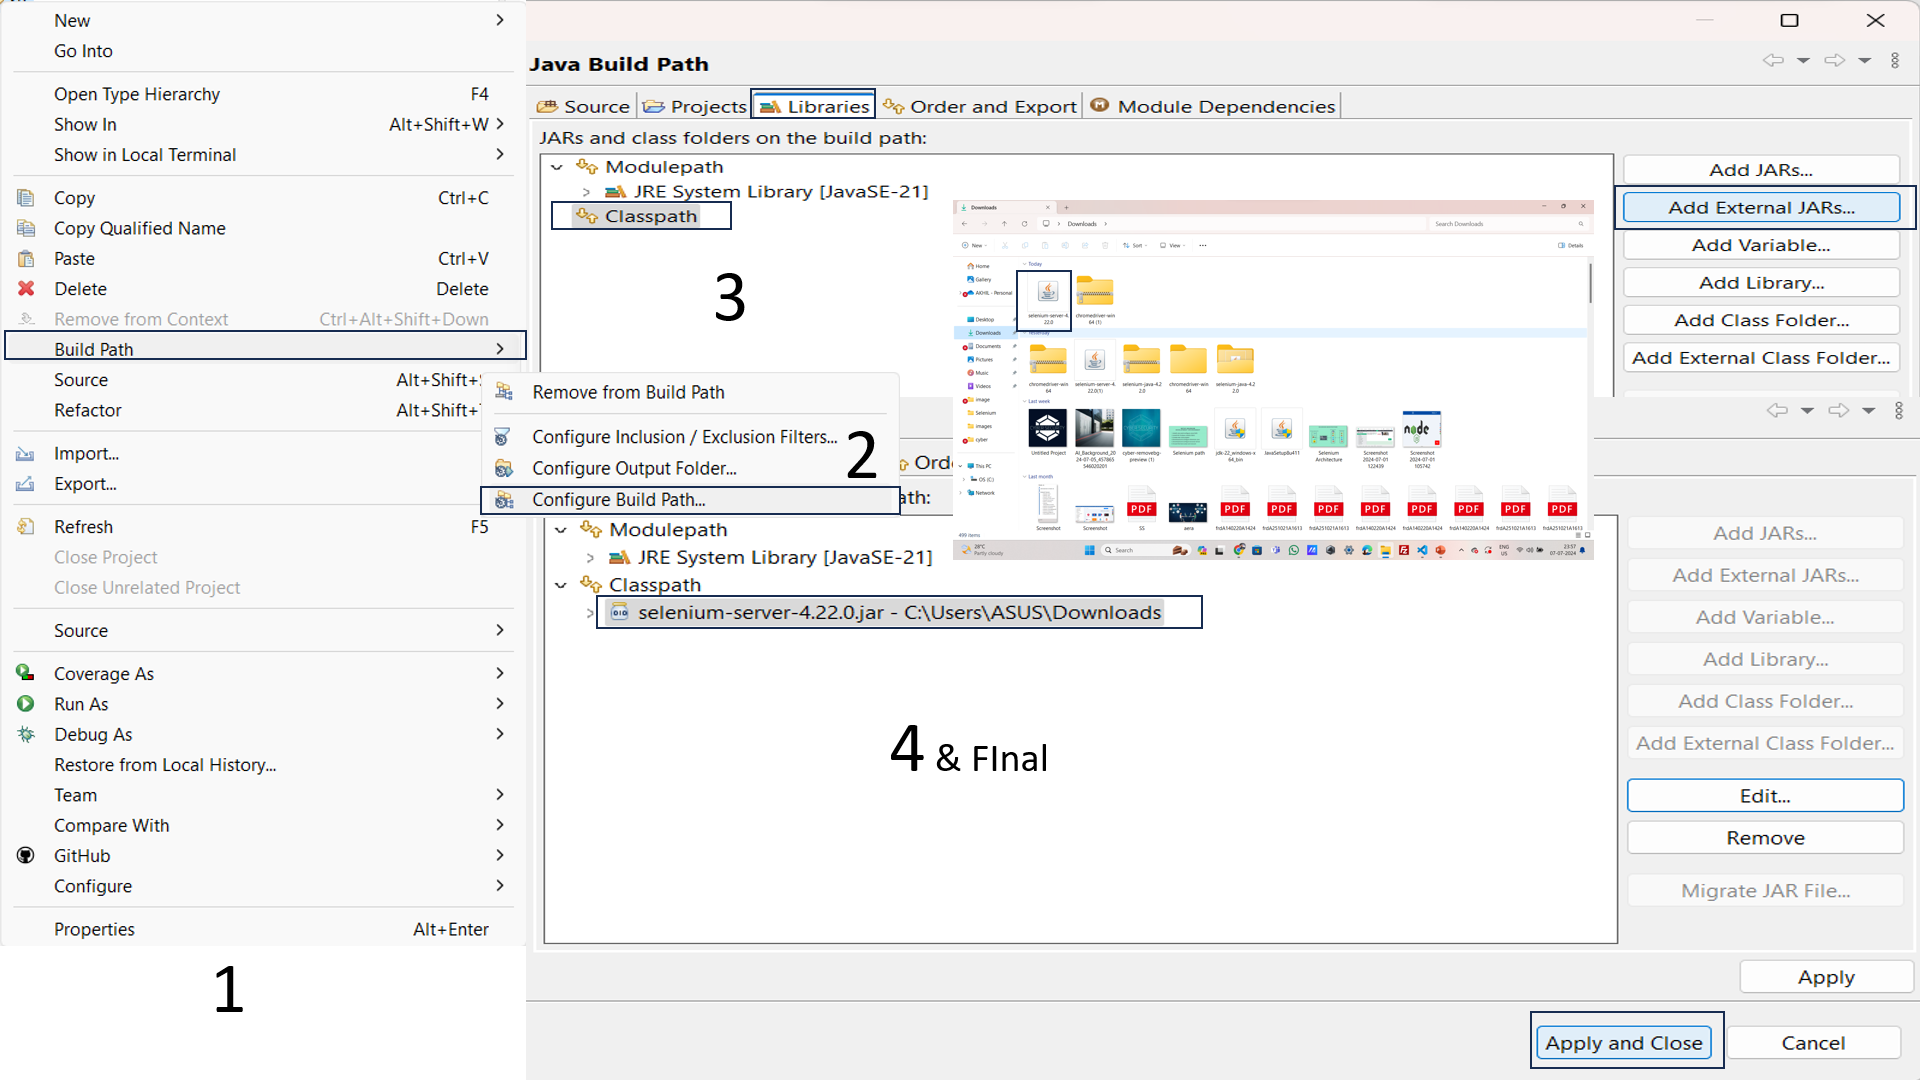
Step 2: Configure Java Build Settings
- In the next window, you can define the Java build settings.
- Usually, the default settings are sufficient. Ensure the src folder is created for your source files.
- Click Finish.
Step 3: Project Created
- Once the project is created, it will appear in the Project Explorer.
- You will see the project structure with the JRE System Library and the src folder.
- You can now add your Java classes and other resources to the src folder.
- for example:-
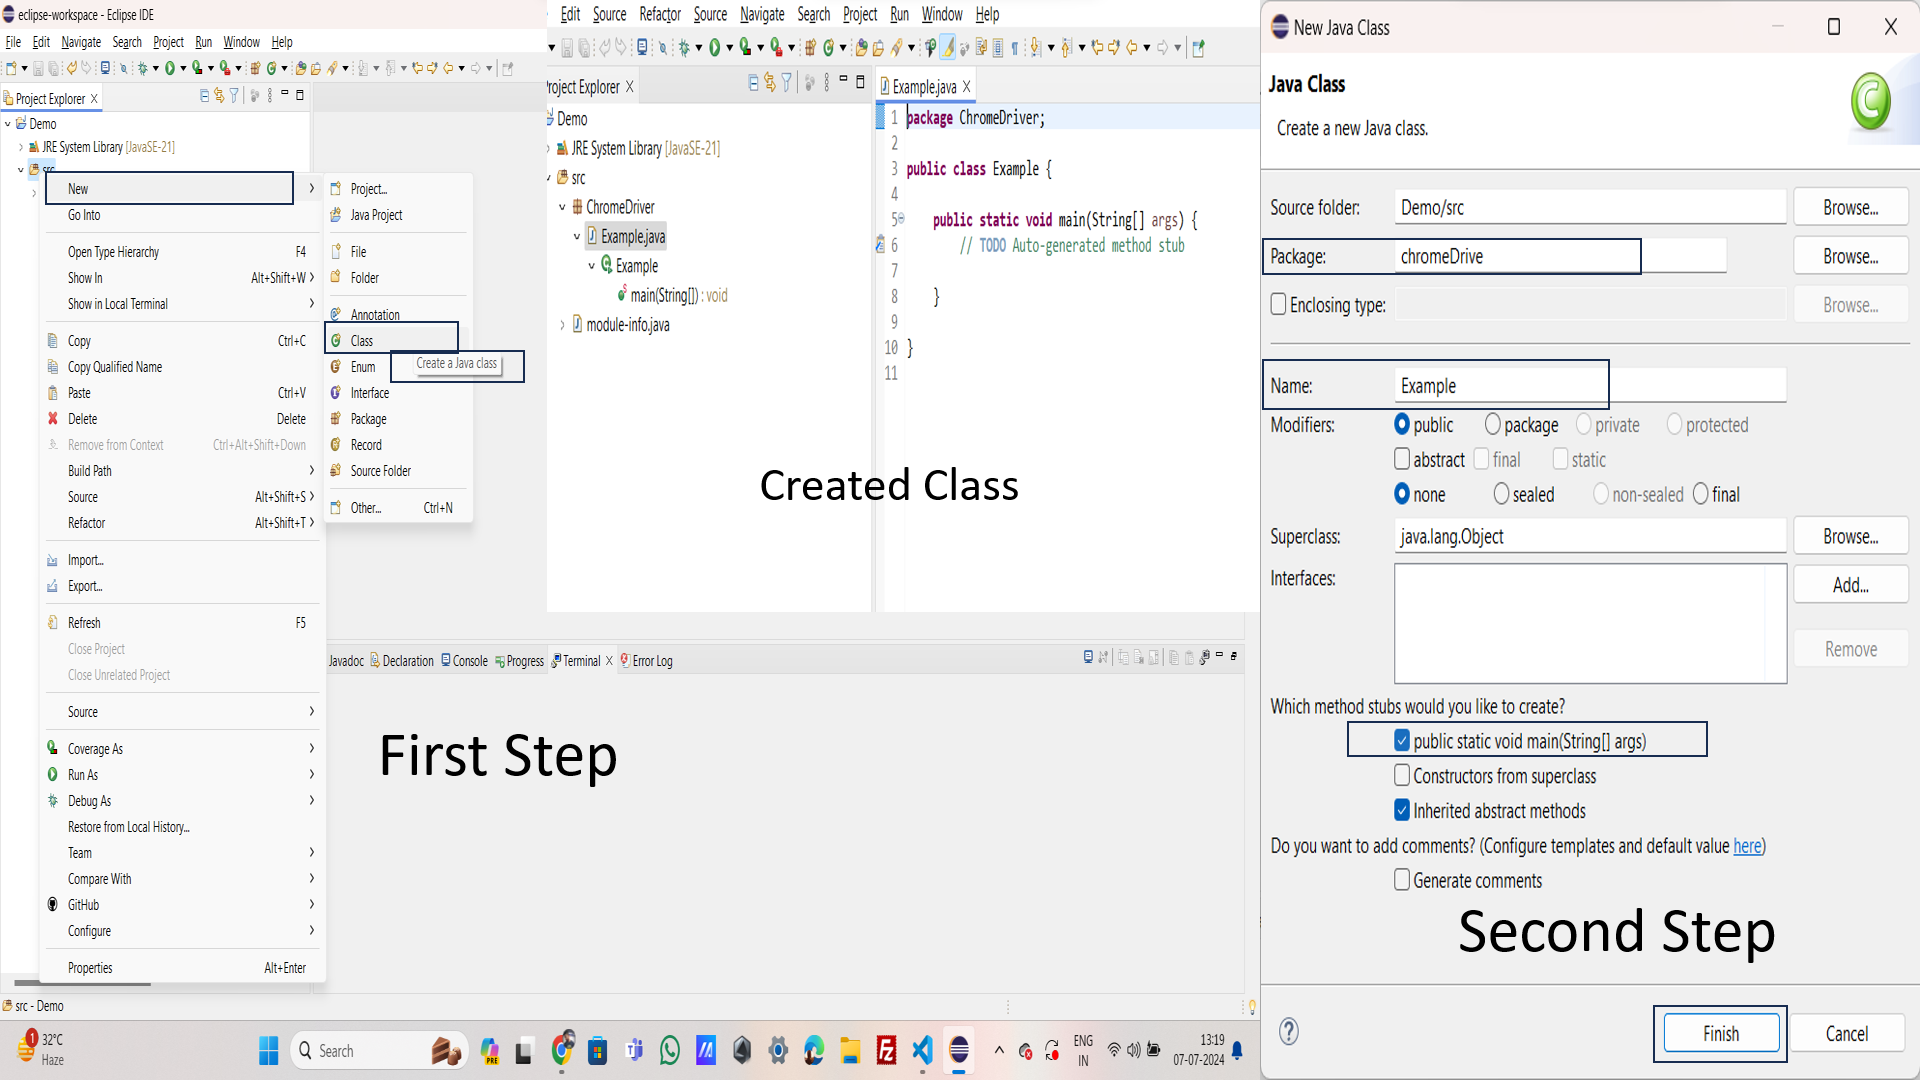
Step 4: Create a New Java Class
- Right-click on the src folder(or the package where you want to create the class).
- Navigate to New > Class from the context menu.
Step 5: Configure the Class Name
- In the New Java Class dialog:
- Source Folder: Ensure it points to the correct source folder (e.g., Demo/src).
- Package: Enter the package name (e.g., chromeDriver).
- Name: Enter the class name (e.g., Example).
- Modifiers: Ensure 'public' is selected.
- Which method stubs would you like to create?: Check 'public static void main(String[] args)' if you want to create a main method.
- Click Finish.
Step 6: Verify the Created Class
- Check the Project Explorer to ensure the class has been created under the specified package.
- Open the class to verify its content. The class should include the package declaration, class declaration, and the main method if you selected to create it.
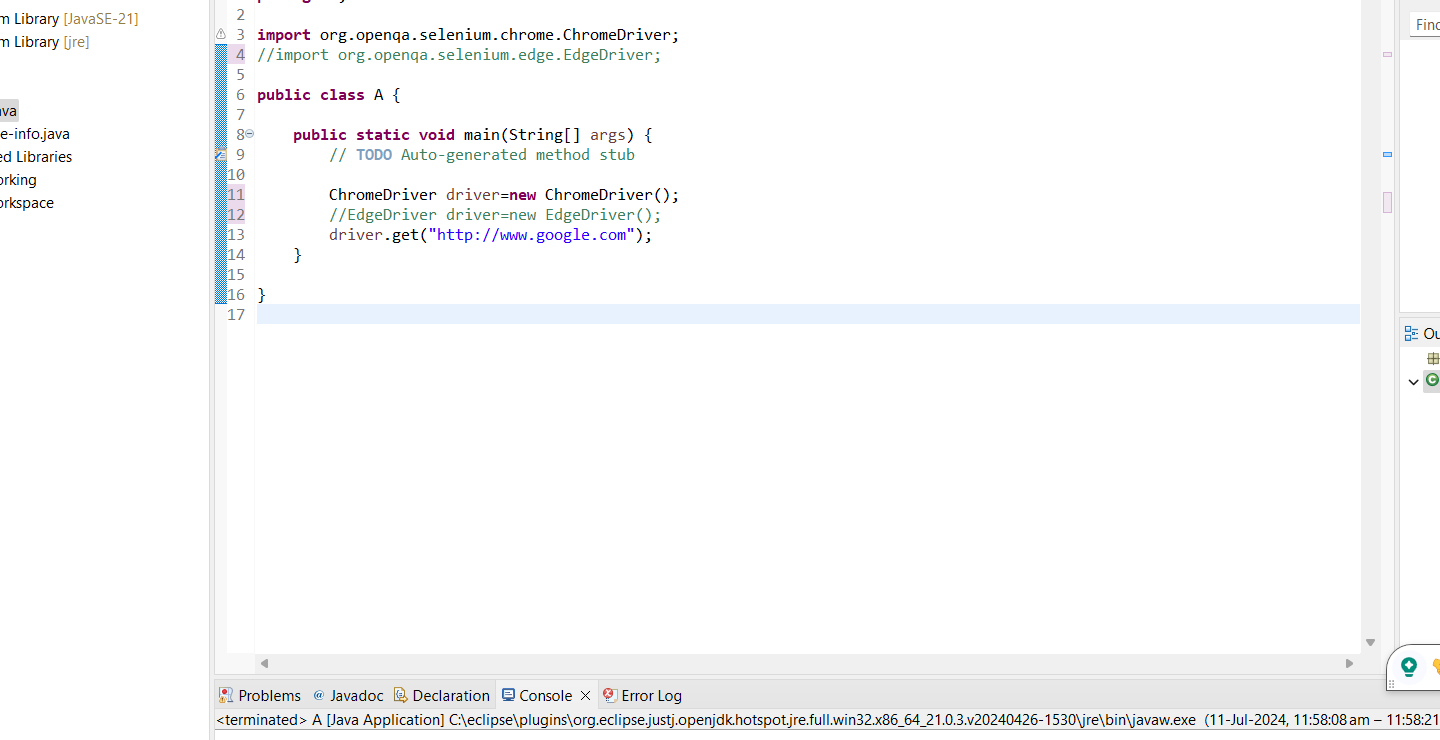
Step 7: Code Writing
- ChromeDriver driver=new ChromeDriver();
- driver.get("http://www.google.com");
- When you hover on the ChromeDriver you get the import package for example
- And then Run the code

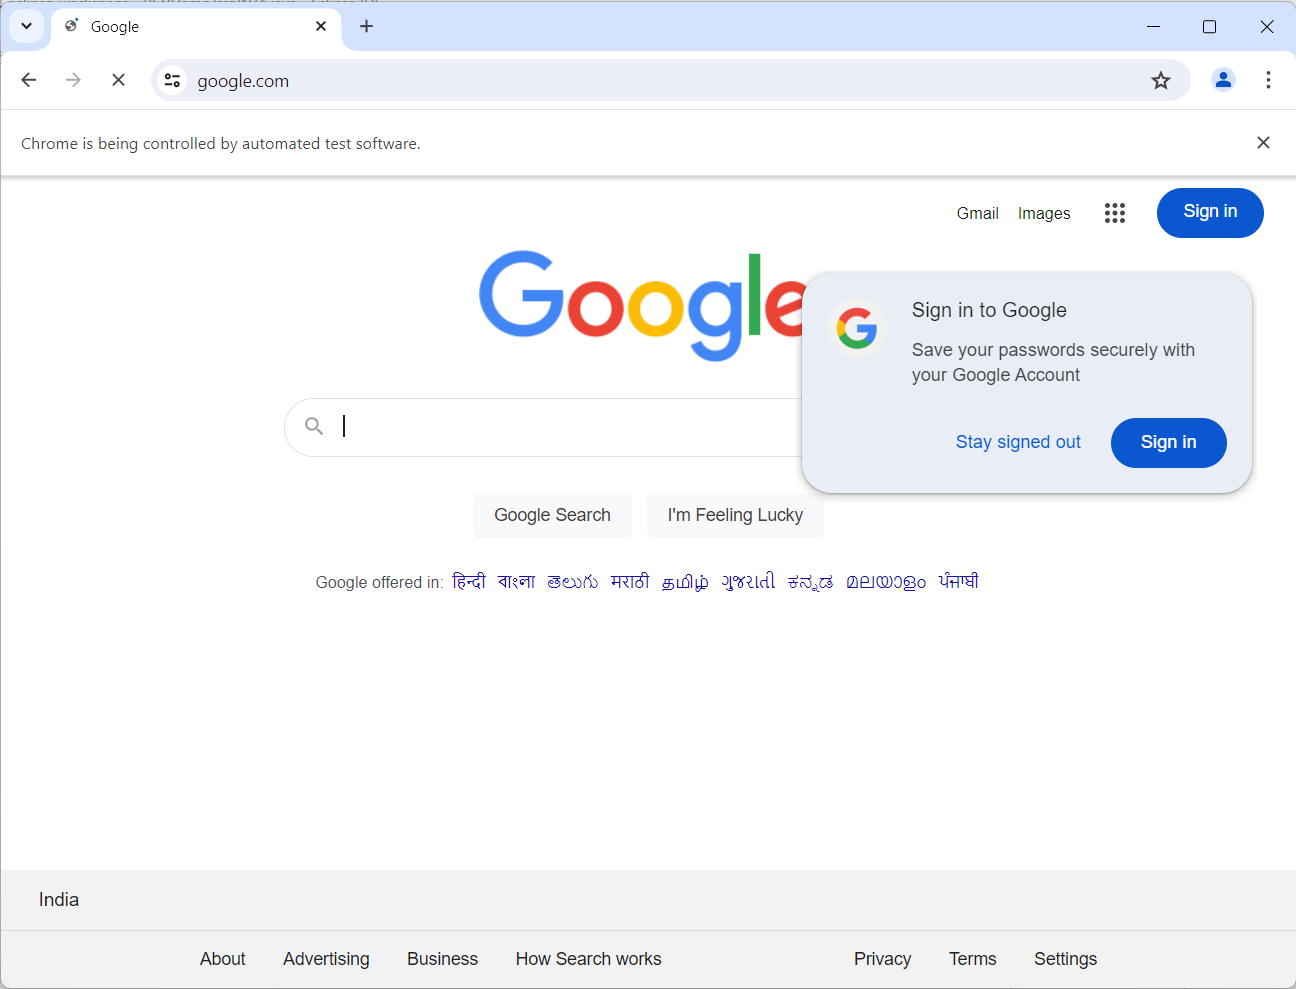
Step 8: Output
- Open the Google Page